Automatically Tweeting New Hugo Posts
The great thing about Hugo is the generation of very fast and secure static websites. But, that means some great functionality will be lost, like plugins that are available to WordPress sites. One of things I really liked about WordPress is that I could find plugins that have the site automatically generate a new Tweet when a post is published. To get similiar functionality with Hugo, I’ve decided to use the free versions of the Zapier and Buffer online services.
The steps to set up this functionality in Zapier and Buffer are fairly straight forward:
- Connect Buffer to Twitter
- Connect Zapier to Buffer
- Make a new Zap
- Choose the Zap trigger app
- Choose the Zap action app
- Turn on the Zap
Zapier and Buffer make it incredibly easy to set up functionality like this, so you probably won’t need the rest of this post to get this functionality working. But I will provide step by step instructions just in case.
Also, I’ve included a Bonus section at the end that demonstrates Buffer’s scheduling capability and how using that capability in combination with Zapier, you can Tweet new posts over multiple days.
Connect Buffer to Twitter
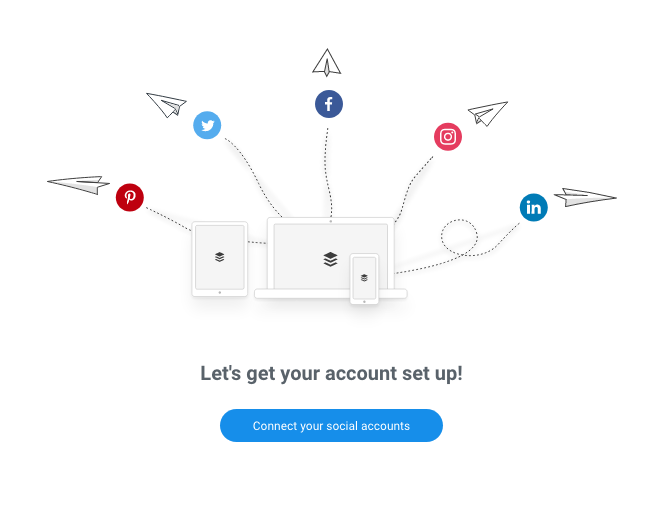
First things first, go and create a Twitter account if you don’t have one already. Next, create a Buffer account. The free Buffer account will be fine for the functionality you’re going to be using in this tutorial. After creating the Buffer account, you’ll need to link it to your Twitter account by clicking the big blue Connect your social accounts button:
One of the awesome features of Buffer is the large number of social media accounts it supports. We’re just going to use Twitter here, so select it from the list of Social Accounts.

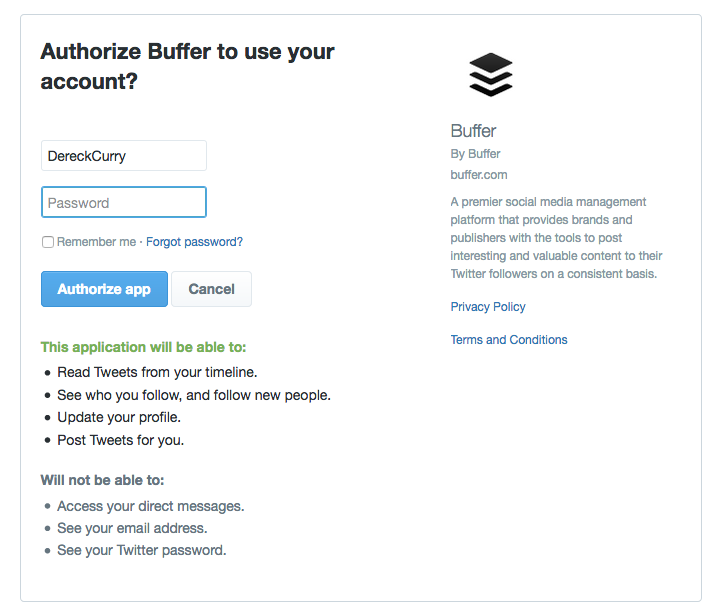
You’ll need to authorize Buffer with Twitter in order to get the Tweets of new blog posts to show up. After entering your Twitter ID and password, click the blue Authorize app button. If you have multi-factor authorization turned on your Twitter account, you’ll need to enter the correct secondary credentials when prompted.
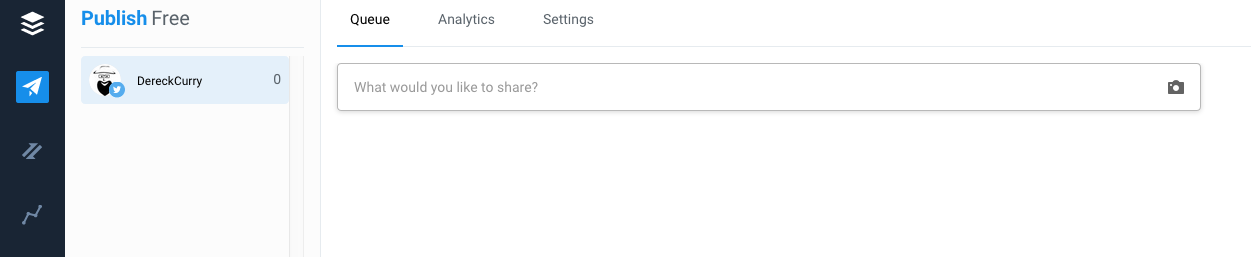
After authorizing Buffer to use Twitter, you should be taken to Buffer’s dashboard where you can see your Twitter account listed and an empty Tweet queue.
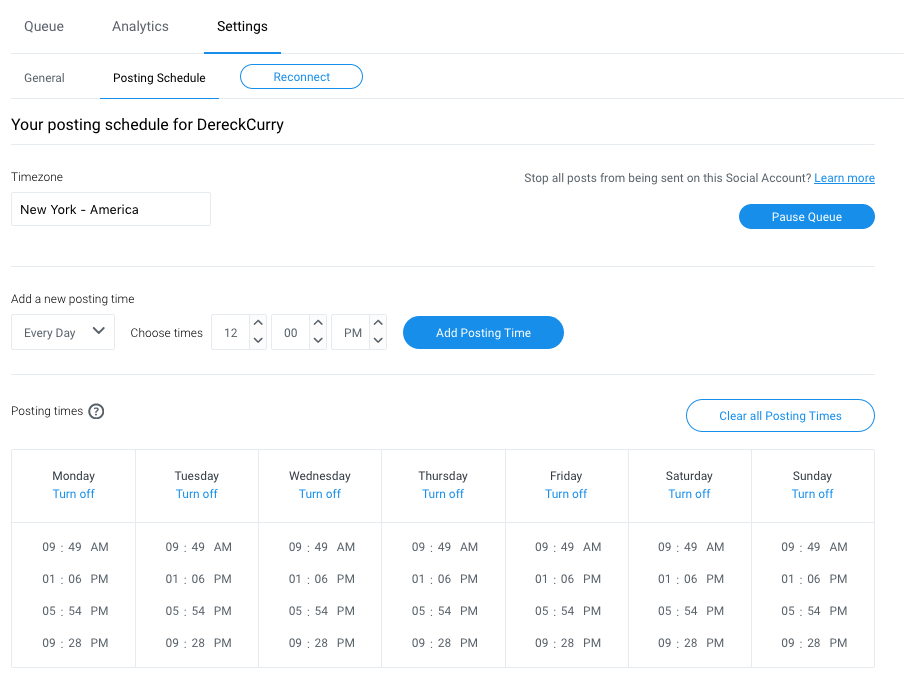
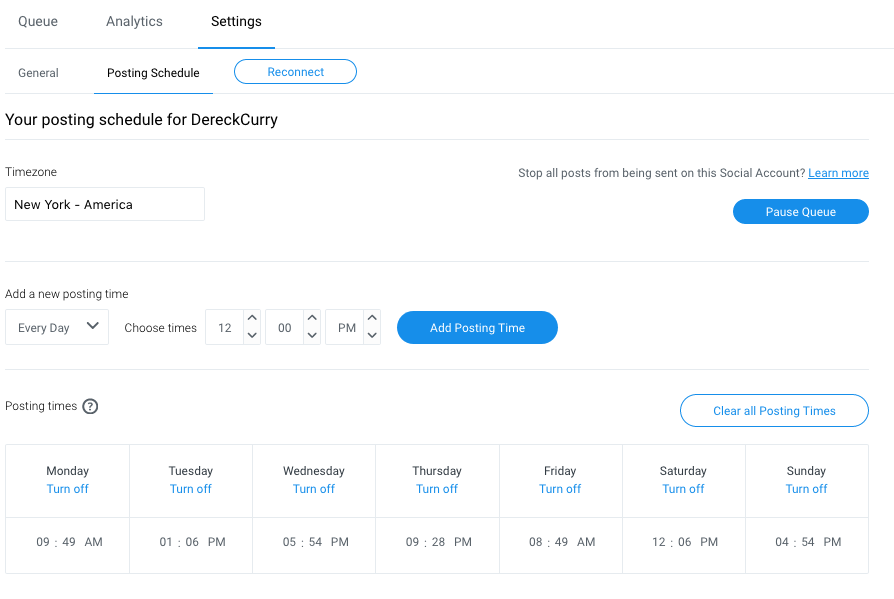
That’s all there is to connecting Buffer with Twitter. But before moving on, I want to point out the Posting Schedule that Buffer uses. Click on the Settings link for your Twitter account on the Buffer dashboard. On this screen, you’ll want to set your Timezone if it is not already correct. But I really want you to notice the Posting Times section on this screen. This is the schedule of times that Buffer will post items to Twitter.
When you have completed all the steps below in this tutorial, new blog posts from your Hugo site will be added to your Buffer Twitter queue. Items in the queue will be Tweeted at the times indicated in your Posting Times schedule. By default, the Posting Times schedule will have several times listed per day. An item at the top of the queue will post at the next scheduled posting time. Feel free to modify this schedule as you wish.
Connect Zapier to Buffer
Although Buffer will do the actual Tweeting of new blog posts, you will need a mechanism to add new blog posts to the Buffer queue. For that we will user Zapier. So if you don’t have a Zapier account, go ahead and create one. Again, the free account option is fine for this task.
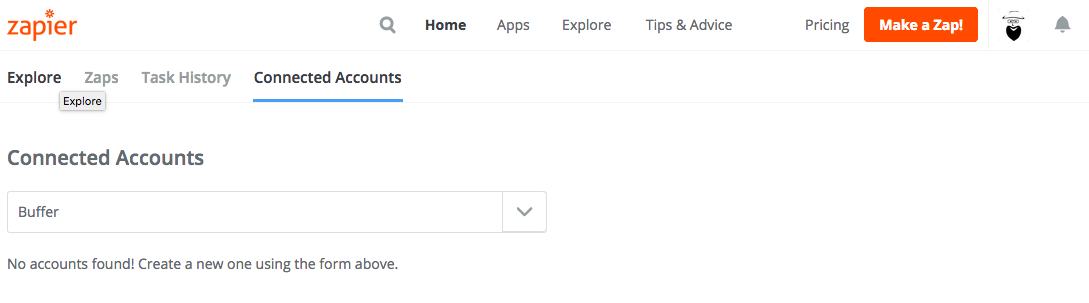
Once the Zapier account is created, you will need to connect Zapier to the Buffer service. This can be done by selecting Connected Accounts from the Zapier dashboard. From there, select Buffer from the dropdown list of choices. You can always start typing Buffer in the combobox in order to filter the options in the dropdown list.
After selecting Buffer, you will be prompted to authorize Zapier to access your Buffer account. Click the Allow access button to continue.

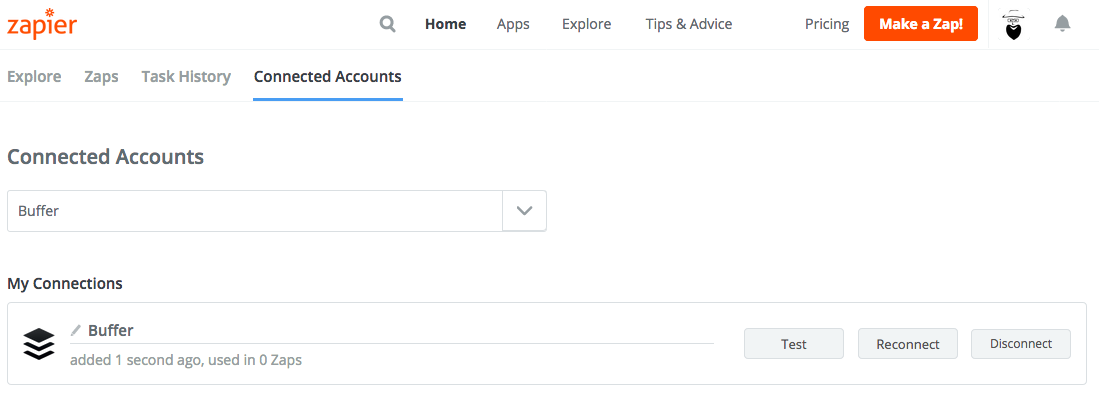
After allowing access, Buffer should now show up on your list of Connected Accounts on your Zapier dashboard.
And that’s all there is to connecting Zapier to Buffer. Next we’ll use Zapier to monitor your blog for new posts.
Make a New Zap
Zapier uses bits of functionality called Zaps to connect online services together, and a Zap will be configured to connect your Hugo blog to Buffer. Start by clicking the Make a Zap! button at the top of your Zapier dashboard.

This creates an empty Zap.
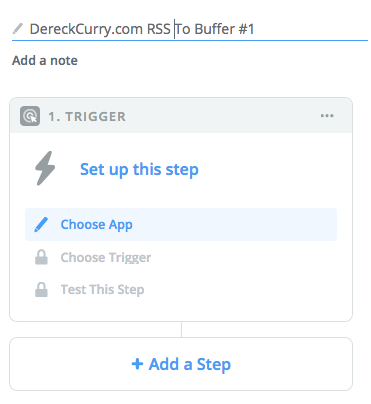
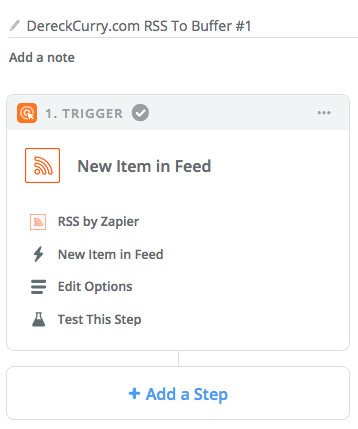
The first thing you need to do is give the Zap a name. You can enter the name of the Zap by pencil icon on the upper left hand side of the new Zap screen. I’ve chosen DereckCurry.com RSS to Buffer #1 for my name. I’ll explain why went with the #1 in the bonus section of this tutorial. But feel free to name the Zap to whatever you feel is appropriate. You can always rename it later.
Choose the Zap Trigger App
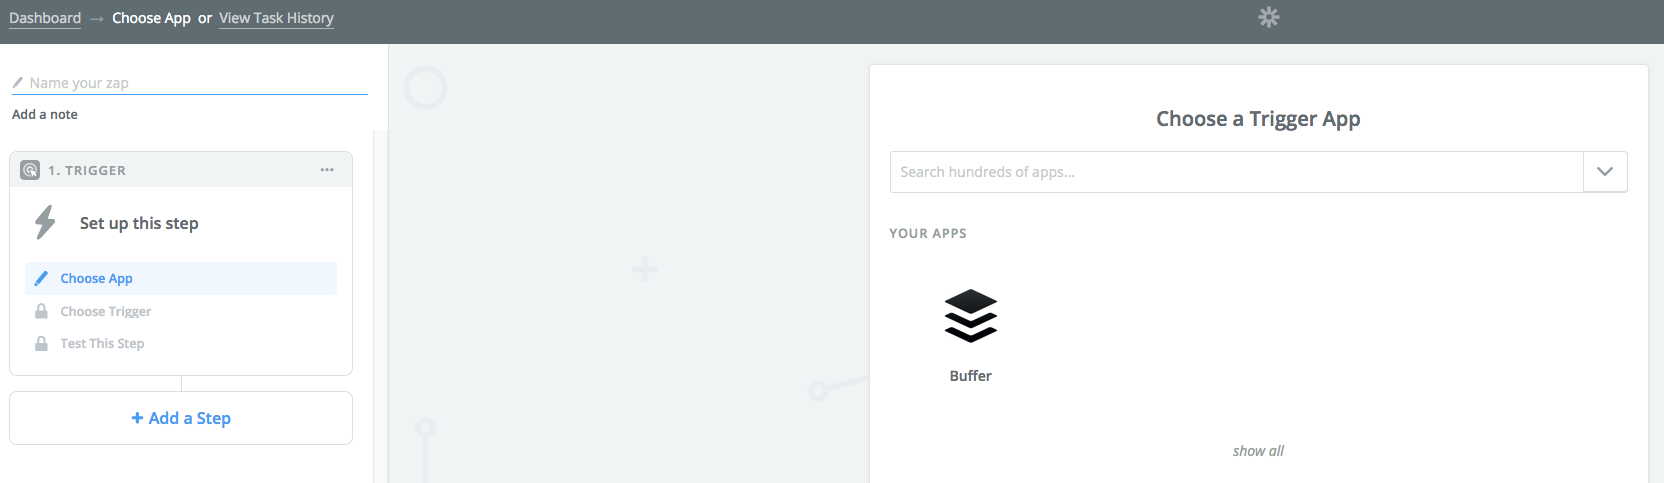
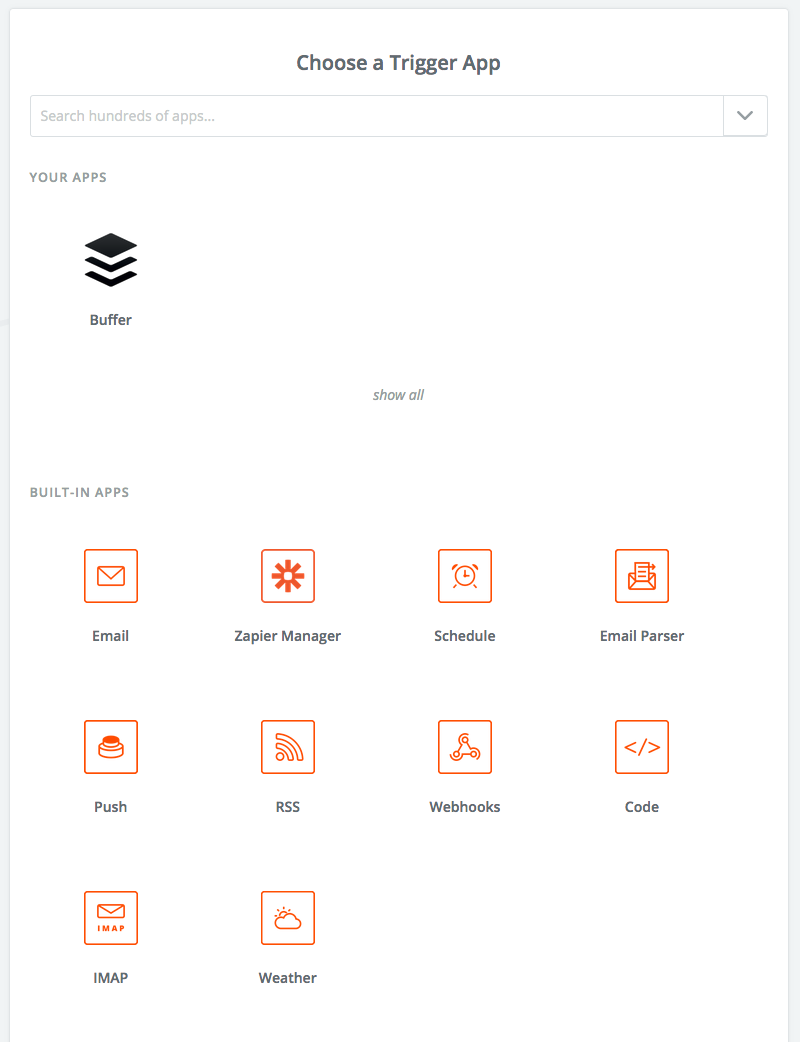
Next, you’ll need to choose the trigger app for the Zap. Basically, Zaps use a trigger for input, and then use steps for output. To get the blog posts from your Hugo site to Twitter, select the RSS icon in the list of the Built-In Apps.
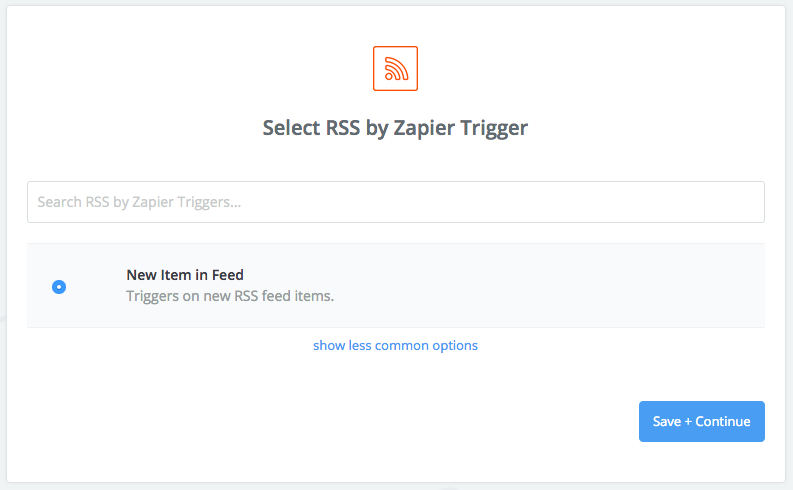
The Zapier RSS trigger will monitor you blog’s RSS feed looking for new posts. So select the New Item in Feed option and click the Save + Continue button to move on.
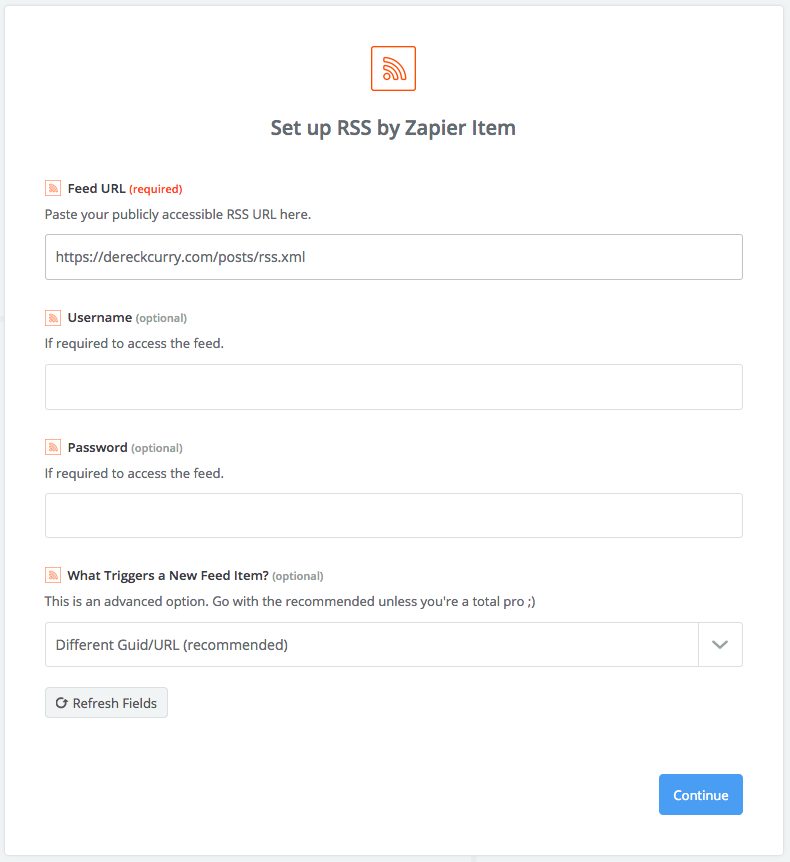
Next, configure the RSS feeds settings for Zapier. Really, the only item you’ll need to configure on this screen is the Feed URL for your blog. If you don’t know your blog’s Feed URL, in an new browser window or tab go to the page listing your blog posts and view the page source. Look in the <head> section for the <link href=“…” rel=“feed” type=“application/rss+xml”> entry. In the href attribute, there should be a URL for your site. Copy this URL and enter it in the Feed URL configuration option on this Zapier screen and click the Continue button. For my blog, the Feed URL is “https://dereckcurry.com/posts/rss.xml".
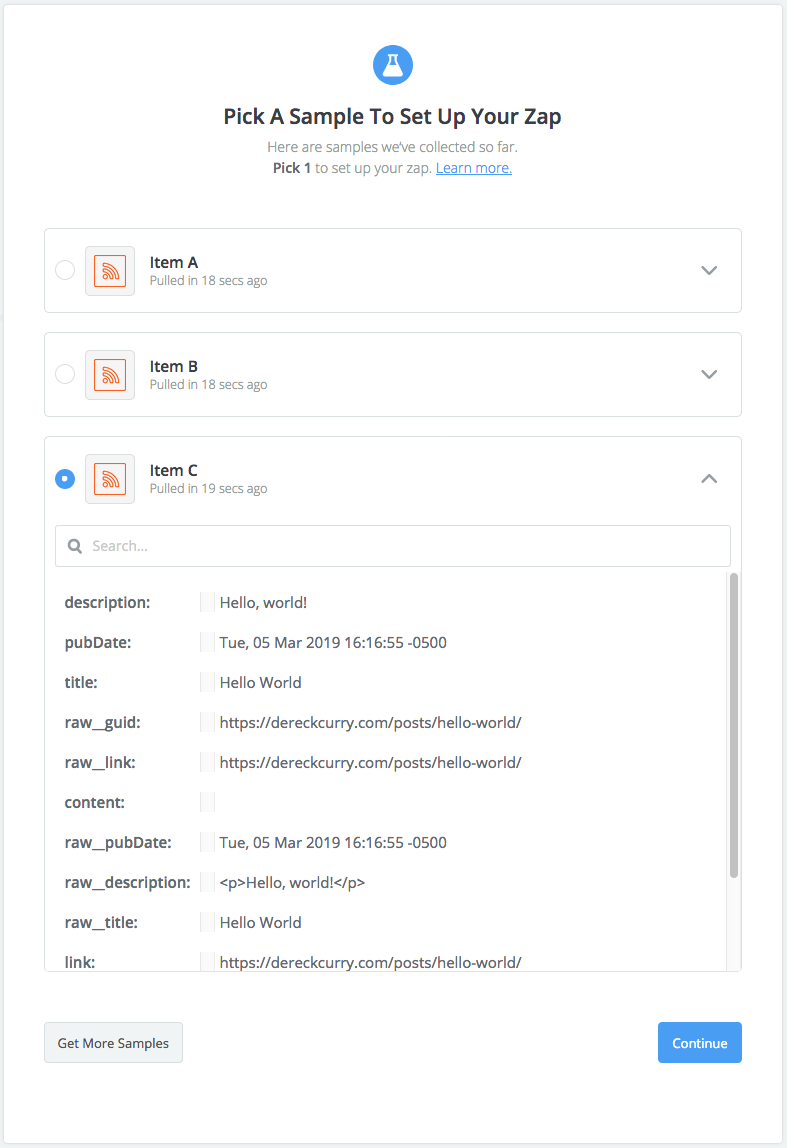
Now Zapier will list some of the blog posts and ask you to pick an example to use for the remainder of the Zap configuration. I chose Item C because it is my Hello World post and is fairly clean. Pick the item that works best for you, and click Continue.
So that does it for configuring the Trigger App. Next you’ll need to configure a Step in your Zap to perform an action when a trigger occurs.
Choose the Zap Action App
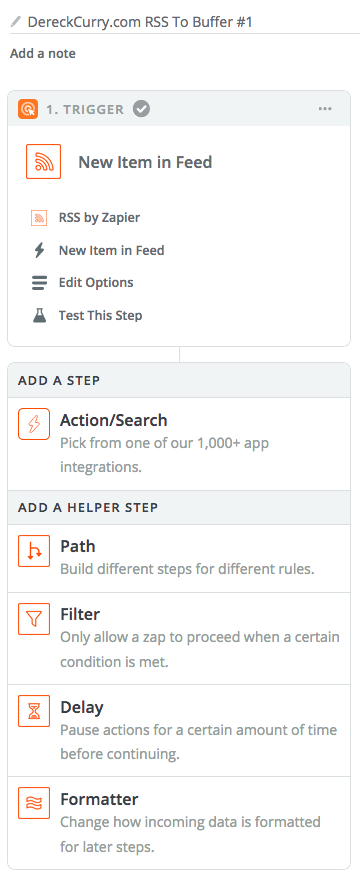
The Zap Step Action is what is going to take a new blog post identified by the Trigger and add it to Twitter queue in Buffer, which will then be Tweeted by Buffer at the next scheduled posting time. Click the + Add a Step button located on the left hand part of the screen under the Trigger section to begin configuration of the step.
Next, you’ll need to select the Action/Search option in the Add A Step section.
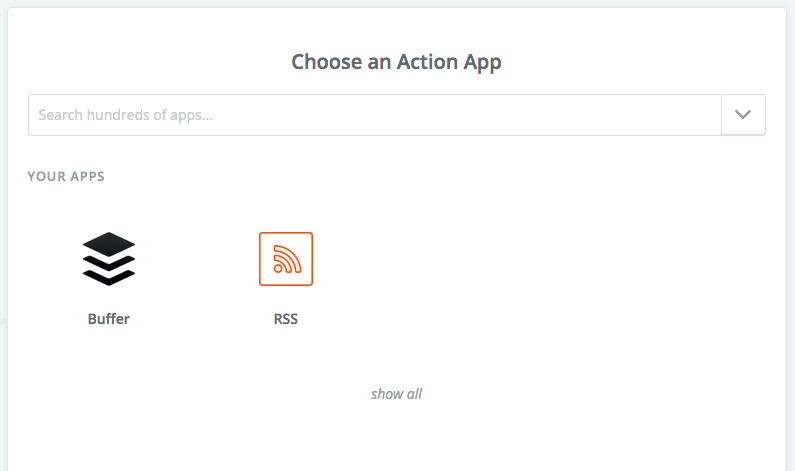
Now, you’ll need to chose the Action App by selecting the Buffer icon.
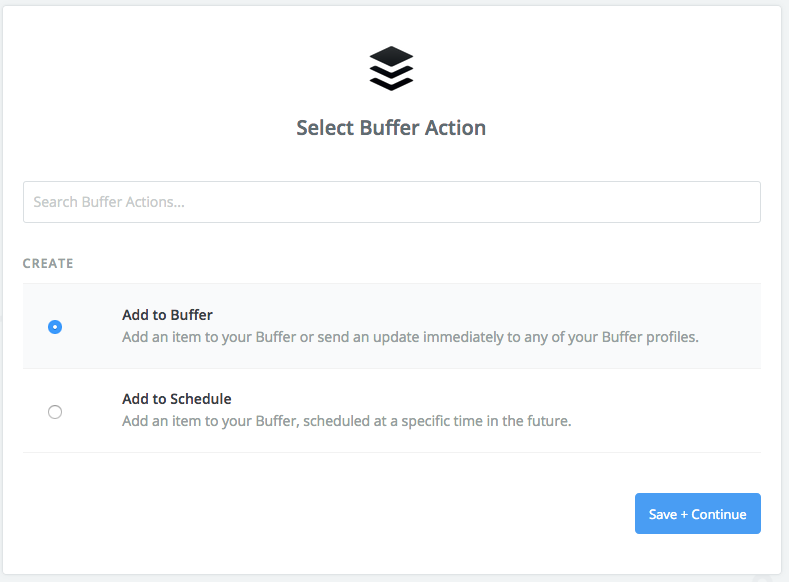
The Buffer Action gives you two options. In this tutorial, we are going to only go over the Add to Buffer option, so select that and click the Save + Continue button.
But before moving on, I want to mention the Add to Schedule action is very cool. If you don’t want a Tweet to go out at the next available posting time, select this option to set the day and time the Tweet should be added to Twitter. I’m not going to detail how to use this feature in this tutorial, but I have experimented with it and found it to work quite well. It’s just not the functionality I decided to use.
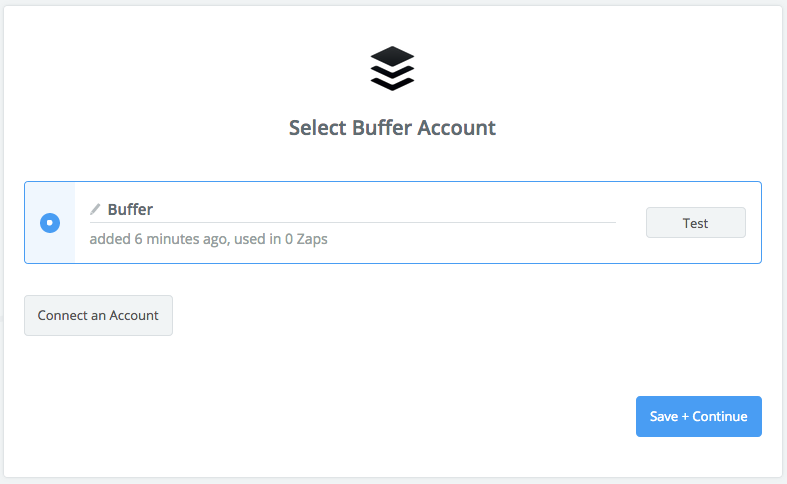
Next, select the appropriate Buffer account and click the Save + Continue button. Chances are you’ll only have the one Buffer account listed.
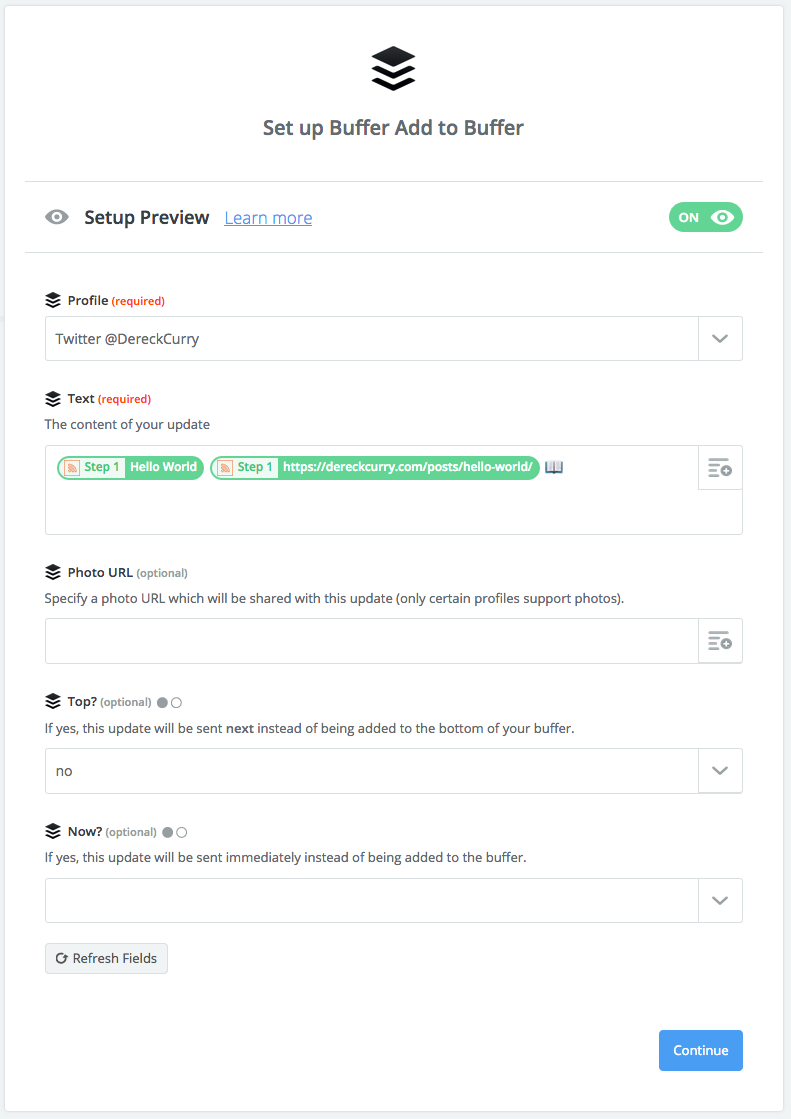
Now, you’ve got several items that need to be configured. Start with the Profile dropdown and picking the Twitter account you previously configured in Buffer.
For the Text of the Tweet, click the icon that has the + in a circle with some bars in the upper right of the Text entry box. This will bring up a list of predefined values you can select from. I selected the Title and Link RSS entries of the blog post. The values shown will be propagated from the example item you picked above, called Step 1 by this screen. Again, I picked my Hello World blog entry in Step 1 above. Your values should reflect the blog entry you selected. These are just example placeholders and will be replaced by the appropriate RSS blog entry values when it comes time to add an actual new blog post to Buffer.
Please note that I added a space between the title and link values. If you don’t include the space, they will run together in the Tweet and the link may not work.
Next, I chose yes to the Top configuration option. This is because I want all new blog posts to go the top the Buffer queue to go out as early as possible to the publication. Otherwise, it will go to the bottom of your Buffer queue. This is only a big deal if it turns out you are adding lots of items to that queue. Otherwise, it probably won’t matter much.
If you want the blog post to go out to Twitter immediately, select yes to the Now entry. Like the description says, it will bypass the Buffer queue entirely and be posted immediately. That’s not the functionality that I want, so I didn’t select it.
After configuration, click the Continue button.

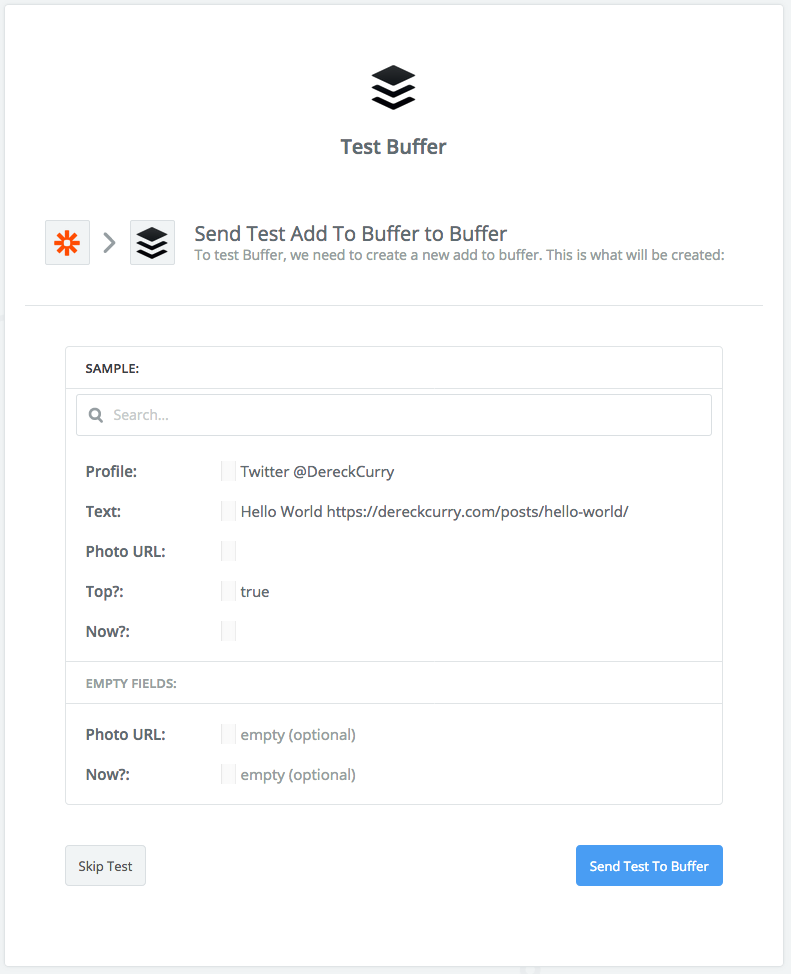
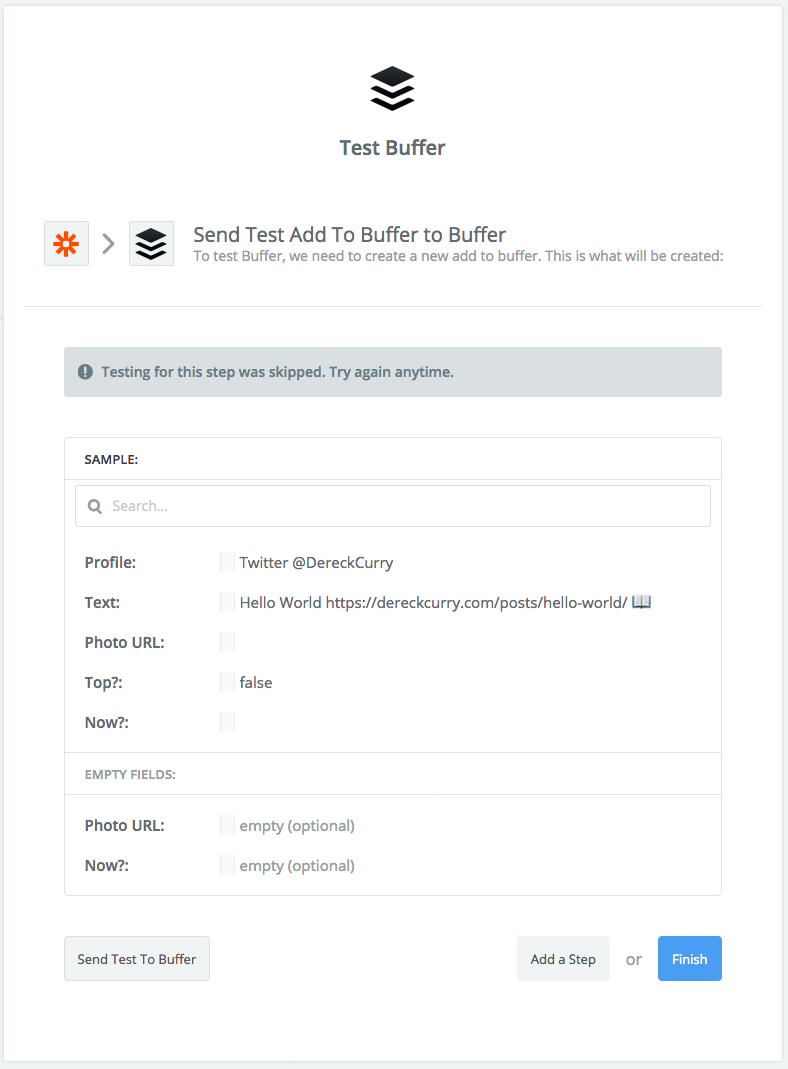
Now you need to test your configuration. If everything looks good, select the Send Test To Buffer button. This will add the actual test entry to your Buffer queue.
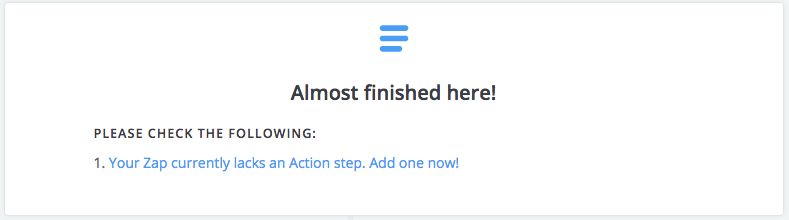
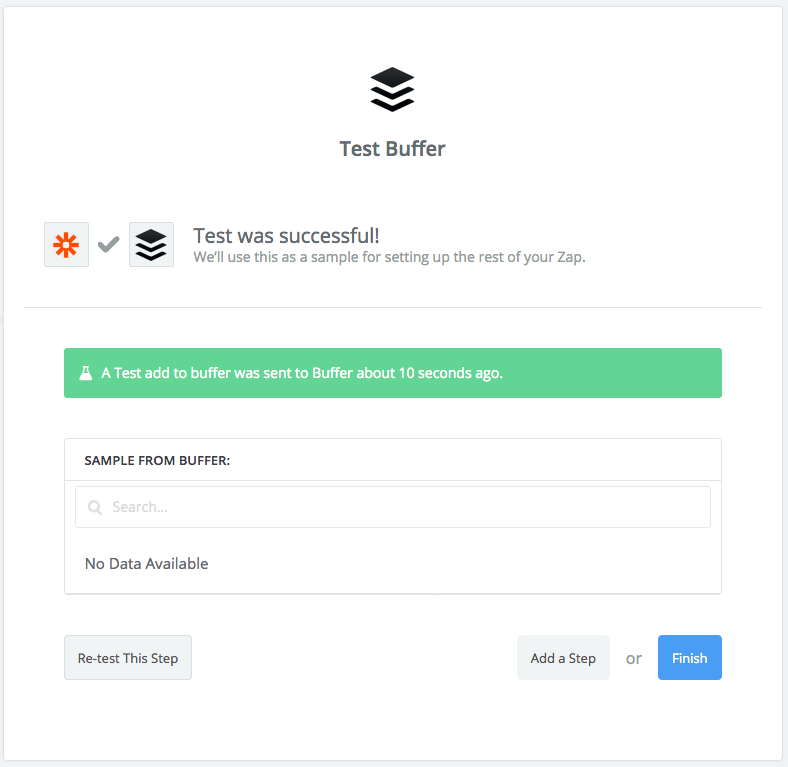
If all went well, then you should get the Test was successful! response from Zapier. At this point, you can click the Finish button. If there were problems, you’ll need to correct them before moving on.
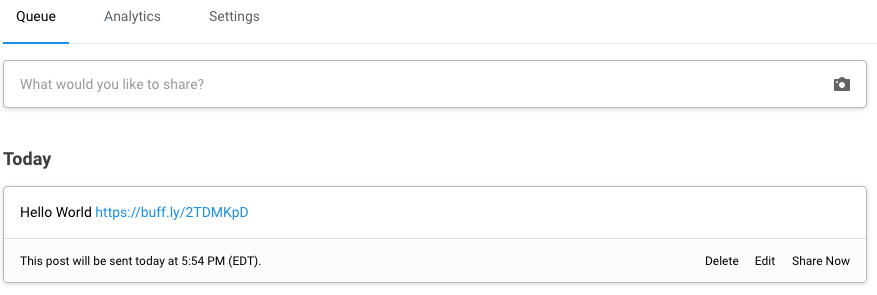
Like I mentioned before, the test does add an item to your Buffer queue. You can go to Buffer and see the item in the queue. If you don’t want it to Tweet, you can always delete the item from the Buffer queue. Notice that the queue shows you the date and time that the item will be sent to Twitter.
Turn On the Zap
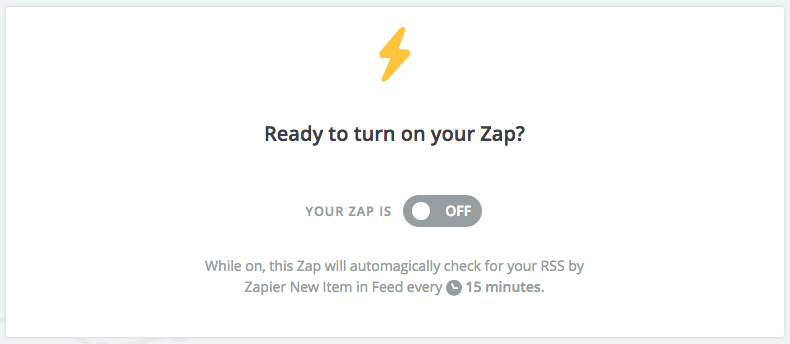
Almost done now. The only thing to do is to turn on the Zap. By default, it is off. So click the slider to turn it on.
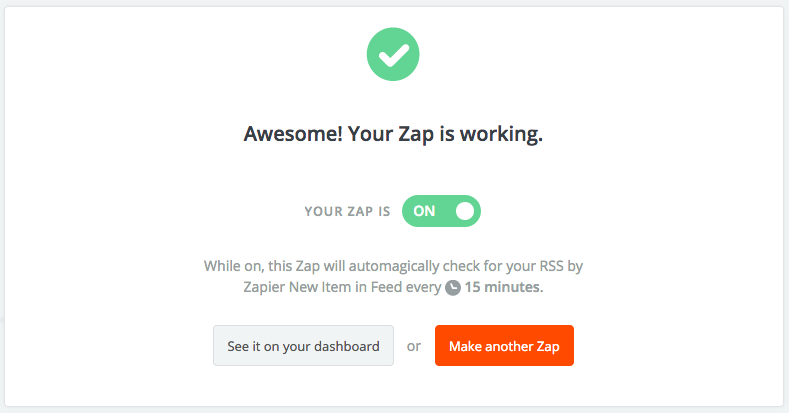
And now, you have a functional Zap. You can create more Zaps from here, or click See it on your dashboard if you are done.
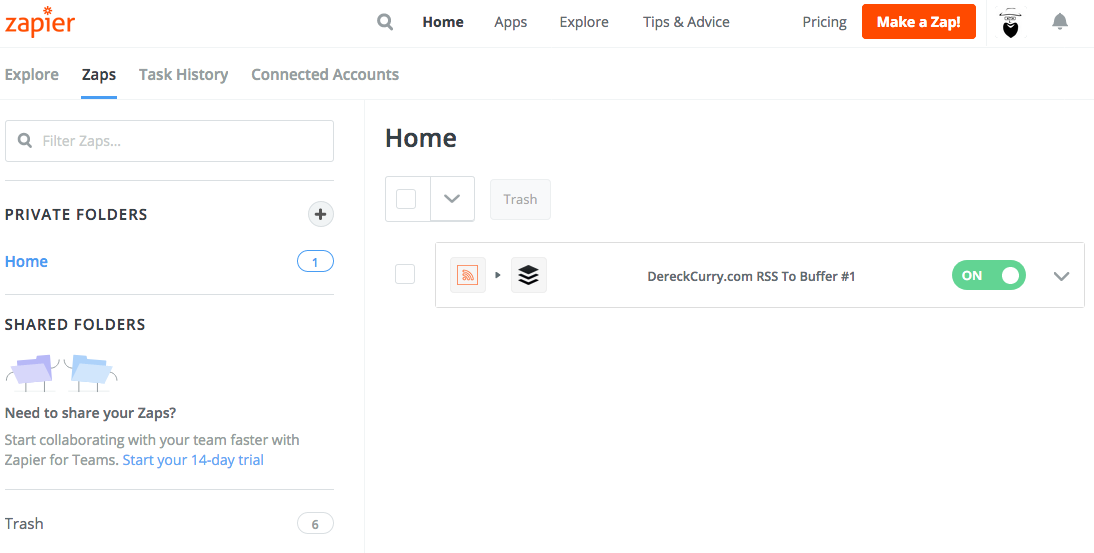
Your Zapier dashboard should now show the newly created Zap. And at this point, any new blog posts you publish in Hugo should be picked up by Zapier, handed off to Buffer, and then Tweeted by Buffer at the next available posting time.
Caveats
You probably noticed that Zapier has a target action app for Twitter available and might be wondering why I didn’t use that. Originally, I was going to, but I noticed that Zapier wanted access to Twitter DM’s. Since I wasn’t using Zapier for any DM related tasks, I decided I didn’t want to grant those permissions. I was familiar with Buffer from using it on other projects, and checked to see if Buffer required DM access. It did not, so I decided to go with Buffer instead.
You’ve probably also noticed that Zapier and Buffer have non-free accounts available. Both services have functional, but fairly limited free accounts. However, those free accounts should work for a low volume blog such as mine. If it turned out that I needed to use a paid account, I would look for other options, as the monthly cost of Zapier and Buffer would definitely exceed the typical monthly cost of discount WordPress hosting available from many online providers. But since my blog is rather low volume and I only use Twitter, the free accounts of Zapier and Buffer should be just fine.
Bonus - Scheduled Buffer Posts
One of the advantages of using Buffer is that I can create a posting schedule. I decided that for purposes of Tweeting new blog posts, a once a day posting schedule would be fine. I’ve never been able to determine an optimal times for my Tweets, so I just spread them out throughout the day. I choose to schedule my Tweets generally between 8 AM and 10 PM local time, with each day getting a different scheduled Tweet time. Below is the schedule I’ve initially configured for Buffer, but will probably tweak for maximum spread.
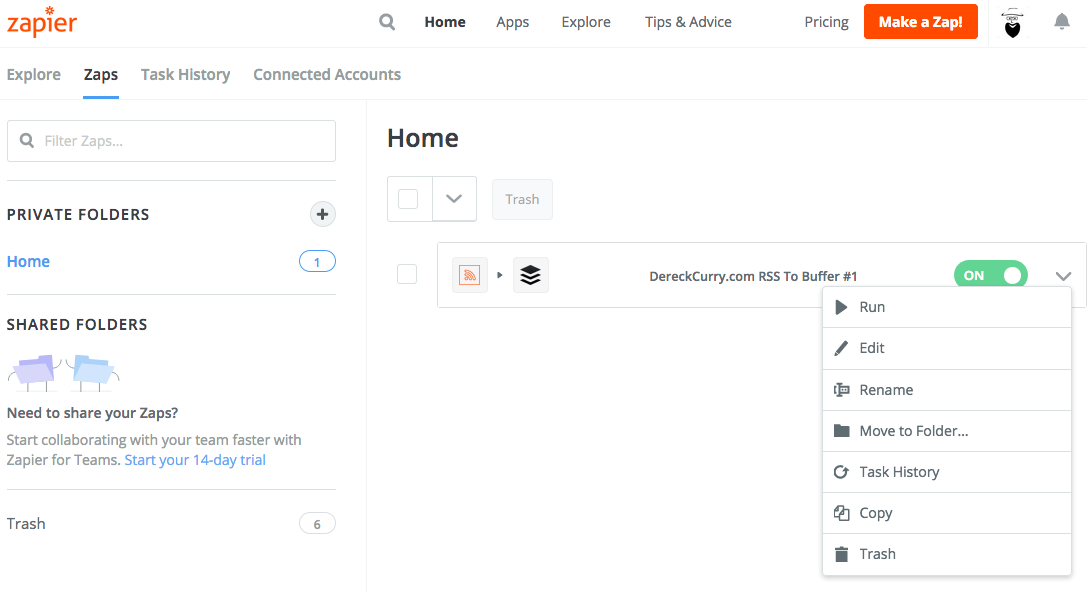
By using a once a day scheduling time, I can also use Zapier and Buffer to schedule posts over multiple days. To do so, I first need to create a copy of my existing Zap. This can be done by selecting Copy from the action dropdown menu on right hand side of the Zap listing.
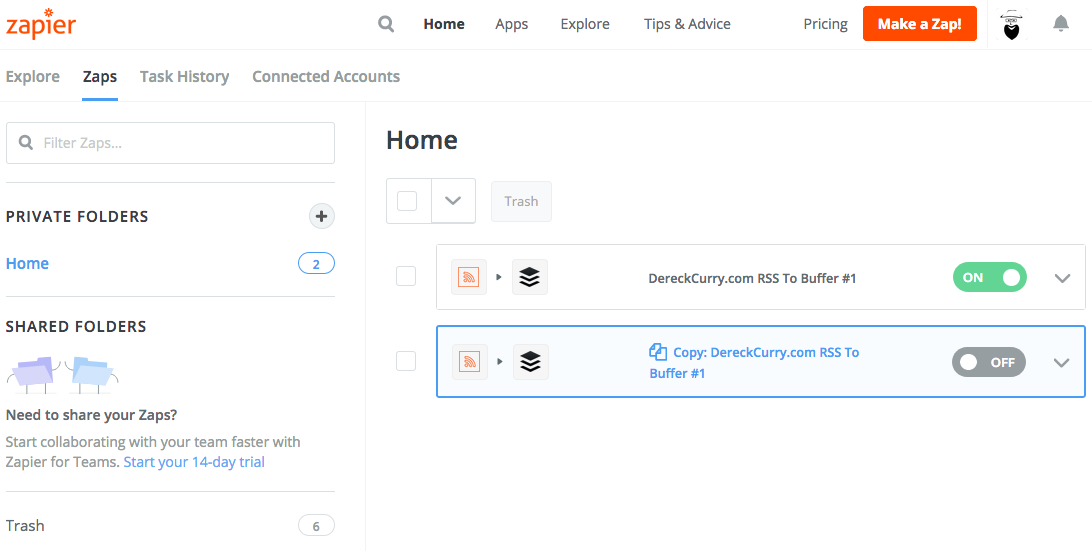
As you can see, the Zap has been copied. To make the necessary changes, select the Edit option from the action dropdown menu of the Zap copy.
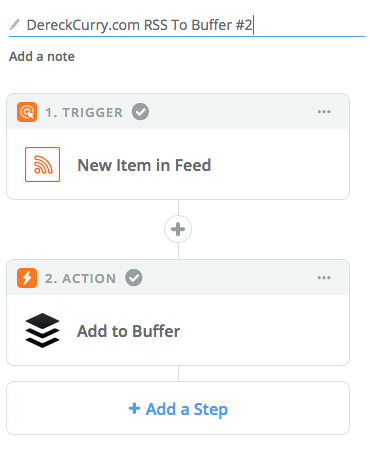
The first thing I do is rename the Zap to DereckCurry.com RSS to Buffer #2. This is why I chose to include #1 in my original Zap. I planned to create multiple Zaps to populate Buffer so that my blog posts can be Tweeted on successive days. You can choose whatever appropriate name you desire for this duplicate Zap.
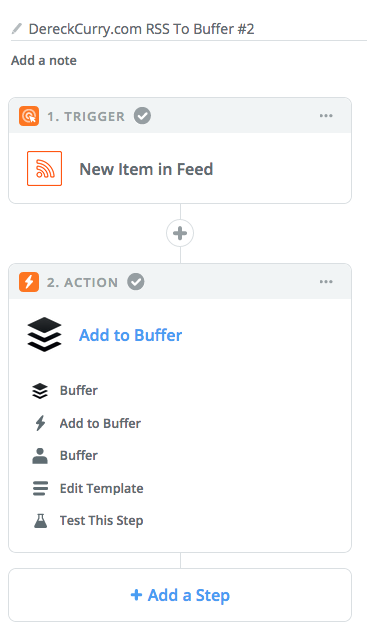
Clicking the Add to Buffer entry will expand the menu options for the Action step. You’ll need to now select the Edit Template option.
Only a couple of changes need to be added to the template. First, the Text will need to be modified. Buffer will not allow you post the same Tweet twice. So you’ll need to make the entry unique here. I added a space and book emoji. I went with the book because I use a similar icon on my site menu for blog entries. It doesn’t have to be an emoji, some additional text will do fine. For some reason, it seems to me that Tweets with emojis tend to get more clicks, so that is why I went with an emoji.
I also changed the Top value to no. I don’t want this duplicate going to the top of the queue. Bottom of the queue is fine here. If I happen to have back to back blog entries, this should provide some seperation between their Tweets.
Click Continue after you’ve made all the changes you wish.
At this point, I didn’t do another test. You can test if you wish, or just click Finish.
Again, the Zap is off by default. You’ll need to click the slider to turn it on.
Back at the dashboard you can see the edited Zap now.
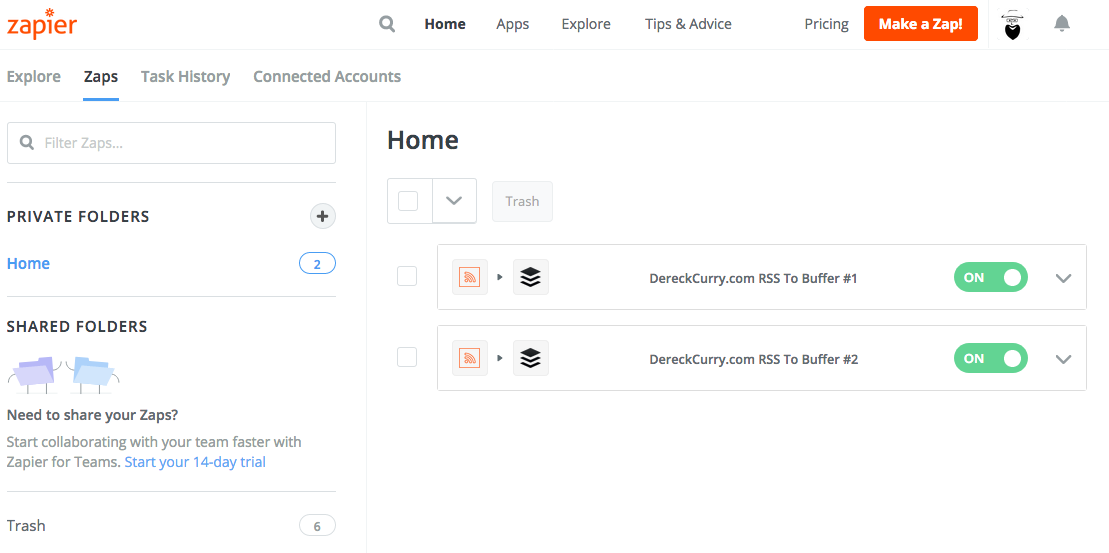
If you want to do add additional postings, just copy and edit as many additional Zaps as you desire. But be aware that Zapier limits the free account to just 5 Zaps and 100 Action steps per month. So depending on your blog volume, you could easily run into these limits if you schedule too many Tweets.
Conclusion
Although it may seem like a lot of steps, the configuration of Buffer and Zapier are fairly straight forward. Plus this can serve as the archetype for additional posting options, like to Facebook or LinkedIn.
If you know of an easier automated method of posting to Twitter from your blog, or one that doesn’t have the Zapier and Buffer limitations, please let me know.
I hope you found this useful.
Dereck